
Mothers choose or resort to pumping breastmilk for a variety of reasons. Common reasons are milk supply or milk production issues, to difficulty breastfeeding, to working away from the baby or having a baby in the NICU, to the occasional separation, breast pumps are used to satisfy many needs. For the occasional use, it may not seem as daunting or uncomfortable, but for a woman using it exclusively or for half of the feedings, complaints arise of sore shoulders, low output, and time expenditure.
If a task can be done comfortably and almost effortlessly, it’s going to feel less like a task, not to mention, easier to stick to a goal for duration. So let’s discuss ways to best accomplish positioning and techniques to improve pumping!
Positioning
Body
Just like with breastfeeding directly, the ideal position is not hunched over, with poor posture leading to irritating soreness and frustrations. Optimal positioning is the upright posture, with shoulders rolled open, back straight, and arms relaxed and supported, feet flat on the floor. Breastfeeding pillows, throw pillows, and armrests can be used to provide a resting place for arms, lower back support, as well as a kind of table-top for cushioning the bottom of the collection bottles or milk catcher to aid in holding steady against the breasts.

Luna Double Electric Breast Pump
Cesarean Sections & Sore Perineums
In the case of recovering from a c-section or immediately after birthing, sitting straight up may be uncomfortable or painful. If too painful to breastfeed and the situation requires pumping, comfort measures will be needed. Slightly reclined and supported with pillows where needed will aid in relaxing the body enough to respond to pumping while taking pressure off of the perineum or incision sight, just be careful of backflow and be cognitive of flange and bottle placement.
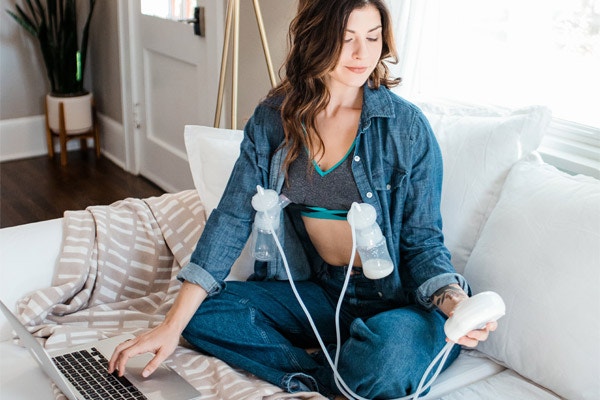
Hands-Free
Going hands-free when using a breast pump is a great option for those pumping on-the-go or while multitasking, such as pumping at a desk job. This can be accomplished with a variety of bras designed for this function on the market. DIY options made from sports bras, cutting a hold just large enough for the smaller end of the flange to fit through, and connecting to the milk catcher or bottle once through the bra, are a cost-effective and useful option, too.
The key for either option is that they maintain adequate support to hold the weight of the pumping attachments and milk collected, while keeping the flange up against the breast without gaping.
Flange
The tool that connects the pumping setup to the breast is the flange (also often called a breast shield). This funnel shape surrounds the nipple and part of the areola, creating an airtight seal for suction that mimics a proper latch. This is one of the most vital pump parts to pay attention to because an improper flange fit can lead to low suction and therefore an unsuccessful pumping session that can affect the amount of milk that is pumped. A good flange can equal good milk supply!
The narrowing of the flange should be positioned directly centered around the nipple, and sized so that the nipple does not touch the walls inside and not too big that the areola gets compressed from getting sucked in. Positioning directly on the center allows for equal and optimal pull from all of the available milk stores, alveoli, to maximize milk output.
It is also important to maintain gentle pressure to maintain the seal and avoid gaps in the flange as it rests up against the breast throughout the duration of the pumping session.
Techniques
More than just connecting and switching suction on, optimal pumping techniques tap into the hormonal aspect of lactation. Oxytocin, the hormone responsible for milk release and starting milk flow, is predominately triggered by the bonding and love felt for a baby… which is quite different from a machine! However, the gentle tugging of the nipple and relaxation of the body are other stimuli for this hormone. Even just remembering you’re there to fit what the baby needs can be a helpful stimuli!
Modes
The massage mode on an electric breast pump or hospital-grade pump, indicated by the hand symbol in most cases, is the mechanical stimulator for the letdown, or milk ejection response (MER). This should be used the first 1-3 minutes of the pumping session to help you get started to express milk . Cycle speeds are increased, and levels for strength set to low or medium range.
Once milk begins to steadily release, the pump should switch or be switched to expression mode, indicated by the wave/flow symbol. The strength level should increase until just comfortable, not too strong to cause discomfort or compression to the tissue. The cycles need to slow down to a more rhythmic setting, imitating a drinking speed from a baby. After 15 minutes on average, pumping should be complete.

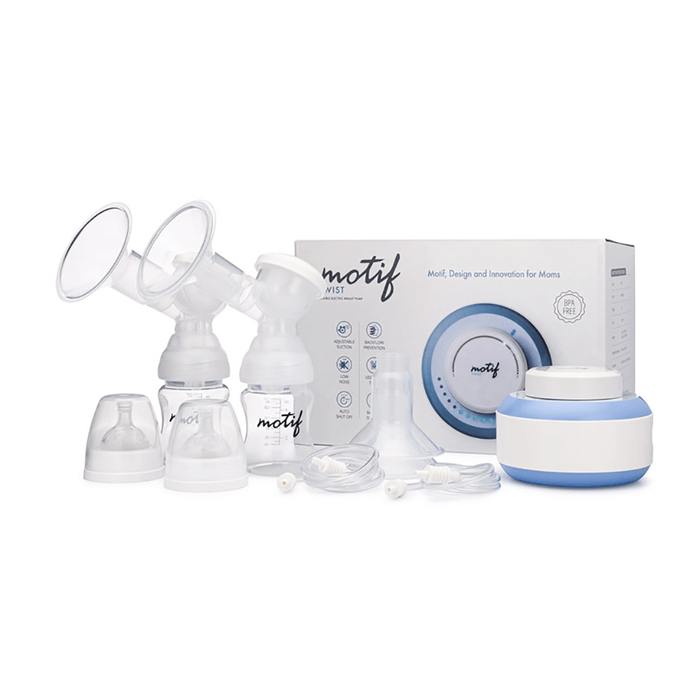
Twist Double Electric Breast Pump
Known as our ‘Affordable Portable,’ the Twist is a convenient, economical option for every mom. The Motif Twist Breast Pump is a lightweight and simple to use – supporting busy moms who need to pump on the go.
Power Pumping
Power pumping is another technique, using the steps above, but in a slightly different pattern. Instead of pumping for 15 minutes, it is recommended to pump for 10, rest for 5-10, and pump again for 10. This 10-10-10 ratio can be done 1-2 times a day, with results in 5-7 days if needing to increase supply.
As always, anytime there are supply or other breastfeeding and pumping concerns, please work closely with an International Board Certified Lactation Consultant (IBCLC), to receive quality and evidence-based help and information.